This article is about a popular laser head available on eBay and other places.
If you want to do the upgrade yourself, here is the article for you!
And here is why you want to upgrade your laser head
The screws bend and rust/oxidize and get stuck very easy (brass). New from steel will work much better.
The harder springs will prevent the mirror from vibrating in higher engraving speeds
The oring will stop air from leaking out from the nozzle
Hot glue on the air assist inlet will stop any leaks
Bigger hole is because the laser beam is wider than stock hole, with 4mm you dont heat up the nozzle and easier to align the beam vertically.
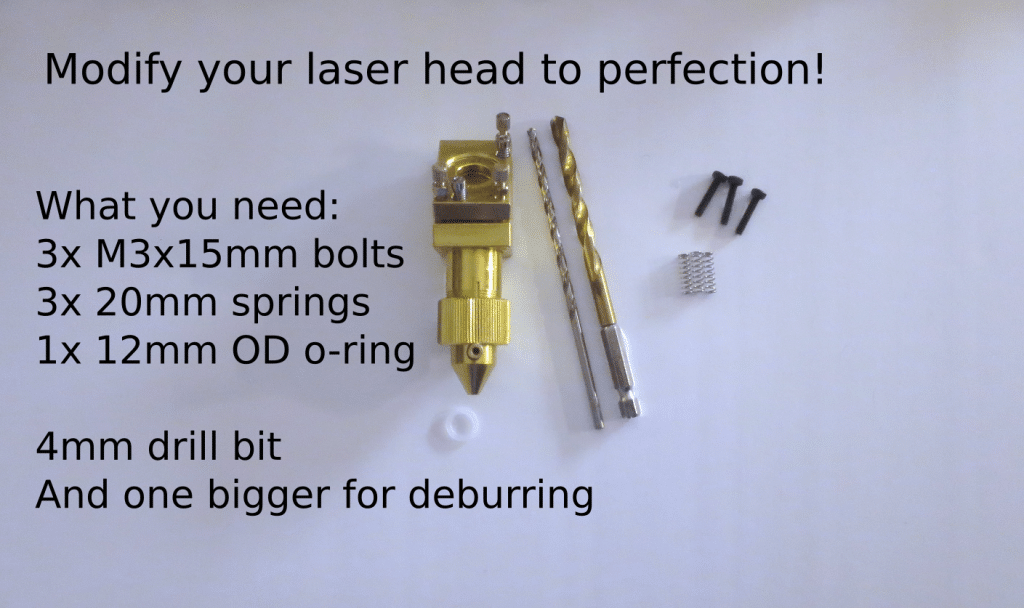
What you need
3x M3x15mm screws
3x 20-25mm hard springs (buy them from 3D-printer stores, they are enough)
1x 12mm OD oring
Hot glue or super glue
4mm drill bit + a bigger one for deburring
A short clip on upgrading
https://youtu.be/EUE6Y0bvkQI
Step 1
Take your 4mm drill bit and drill from the inside of the nozzle, go slow.
Then take your bigger drill bit from the outside and deburr the edges a bit.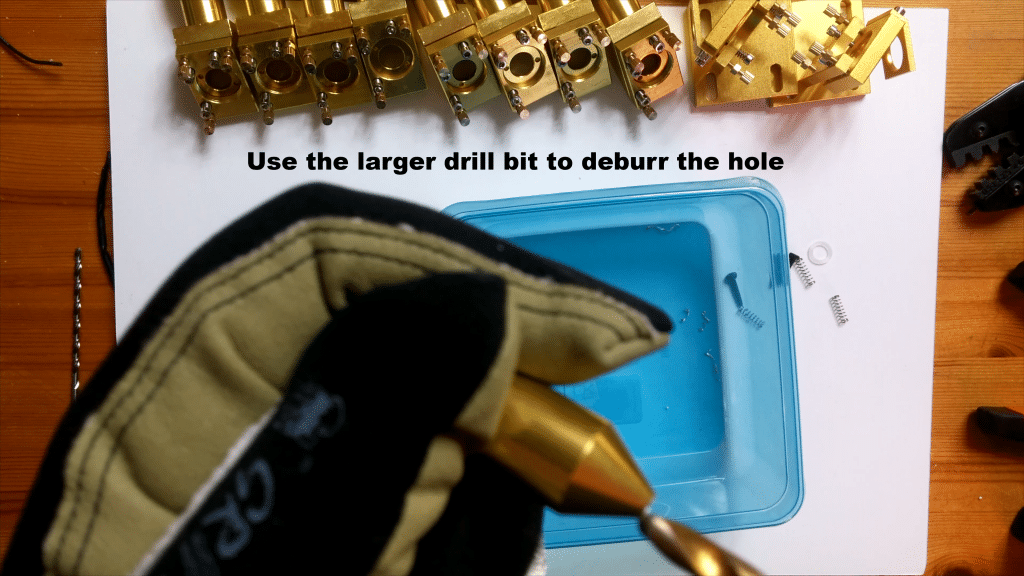
Step 2
Remove the old screws on the laser head
Use the old nut on your new screws
Install back on the laser head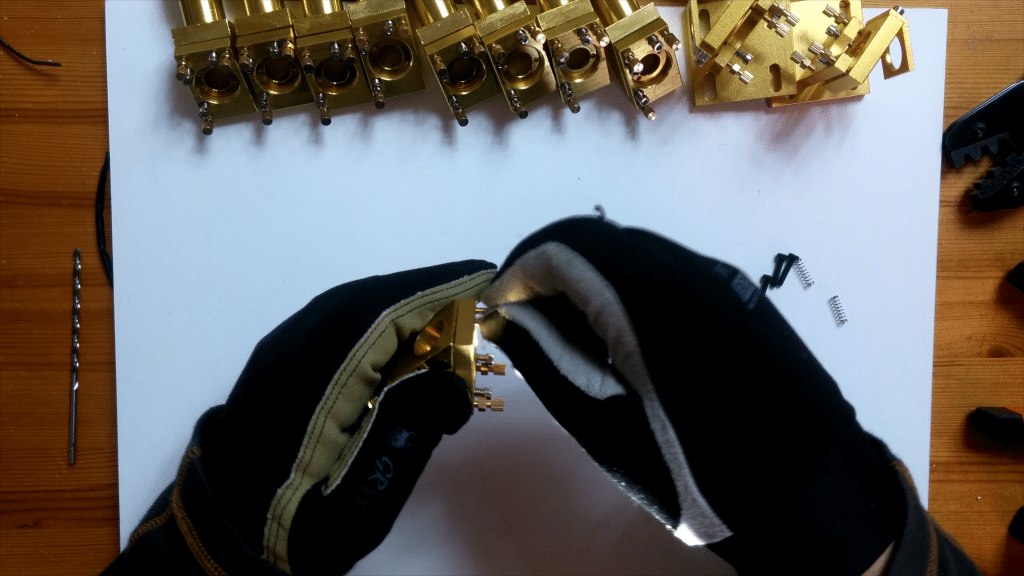
Step 3
Remove the screws with the springs, and replace with your new harder springs.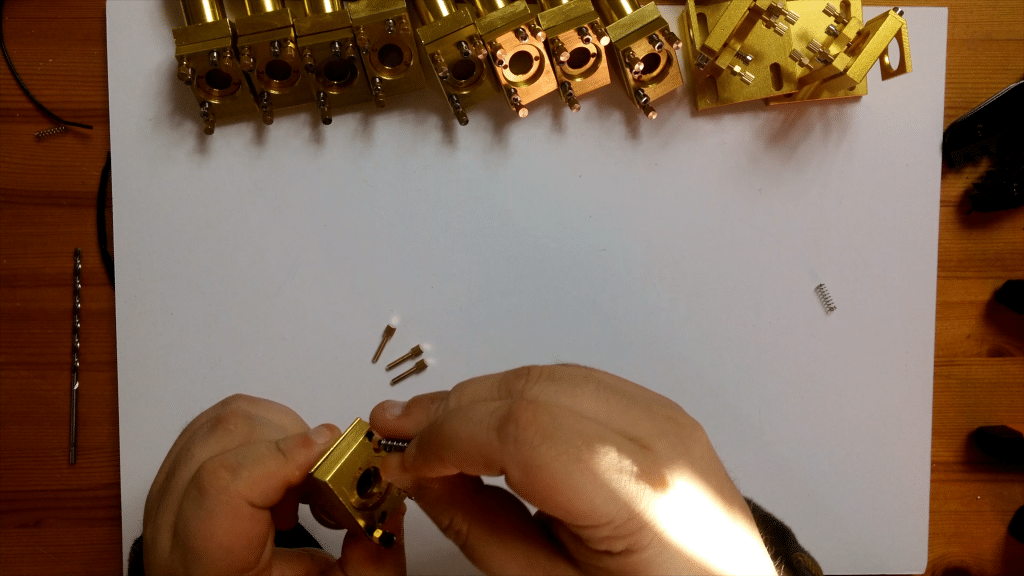
Step 4
Install the 12mm oring on top of your lens.
If you install it under the lens, there is a risk the lens isnt level.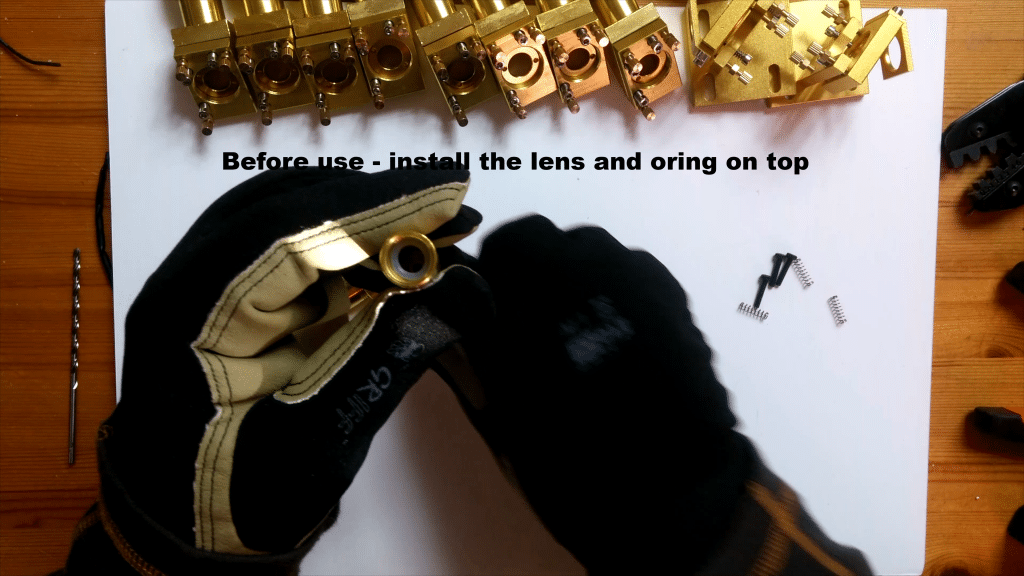
Optional modifications
Add some hot or super glue to the little inlet for the air assist, this prevents any leaks.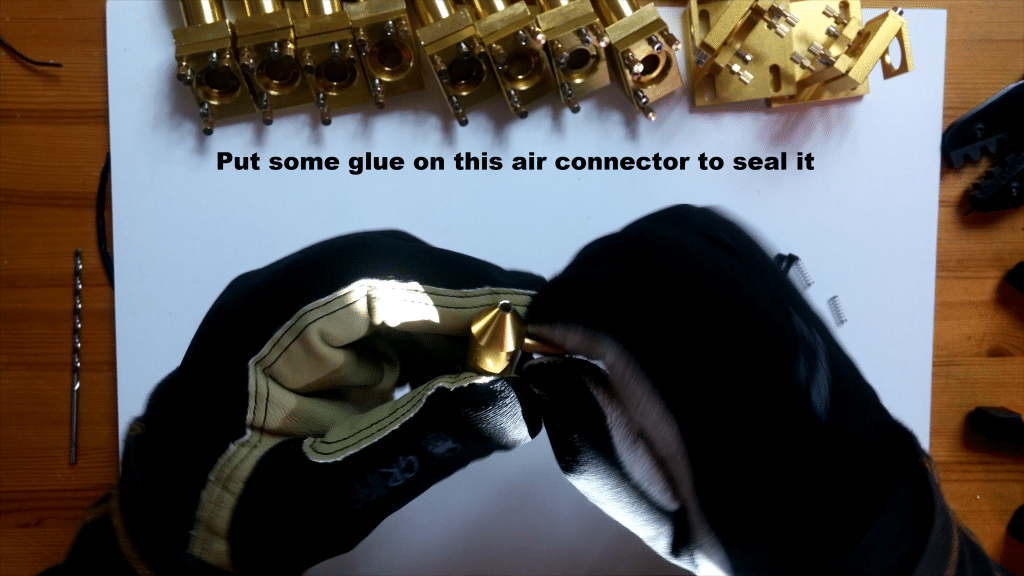
Installation time!
Use my alignment guide to help installing your new laser head!

Thanks for your guide, the links seem to be broken on this page. Could they be fixed?
Links to the store is broken, due to the store does not have anything in stock, or very few parts right now the store is closed and the links doesnt work.
I have removed the links now.
Thanks for sharing this tip as it’s very useful. I did mine a while back following these procedures but I noticed the link on your “behind the scenes” blog on the new website doesn’t work
I can´t find the link, comment here or send a email to hp@hawkcan.com and i´ll check it out. Thanks for noticing bad links after the split.
The links to the Laserhead seem to be broken.
Thanks for the heads up!
Links fixed now, you can also find them on Ebay and Aliexpress and use this guide to upgrade them yourself.
Great guide as always thank you! I just implemented your solution but I’m wondering if the air pressure is high enough with such a “large” hole in the bottom. Do you maybe have any advice on what kind of air assist you use? I read your article on air assists where you describe the small 20$ aquarium pump but is that really enough? Right now I use an airbrush compressor.
For our small machines the pressure often doesnt matter, you only want to remove the debris and smoke from the beam path. I use a Hailea ACO-318 on all my machines with good results on these laser heads. It´s important to seal the pipe in the threads and use the o-ring to seal the chamber. More losses – bigger flow/pressure needed. If i remember correct my pumps are 70L/min pumps.
Thanks for the reply! I haven’t yet sealed the inlet with hot glue but I installed the O-Ring I will test on the weekend!
Hi,
I recently purchased a 6040 machine from china which was essentially a K40 machine in a bigger shell. I upgraded the head to a 18mm, but since the upgraded I noted a serious degradation in my engraving speed. I used to be able to engrave at 300 mm/s but now had to decrease this to 100-150 mm/s. Is this normal?
I assume this is because the new head may be heavier? Would I need to replace the stepper motors to engrave at a faster speed?
Check the wheels and pulleys on the machine if they are hard to move. Also the motor pulle/drives if there is resistance in them. My guess is the wheels moving the laser head to check out first.