This article is missing some pictures, we are replacing them shortly.
4mm acrylic in stock setup had to be run at 80% power and 5mm/s. This is awful and the K40 can do much much better than that.
So in this article we are focusing (heh) on installing the upgraded laser head kit for the K40´s.
Tools you need
– Screw drivers
– Cold beer
Products and parts needed
– Upgraded laser head | External link: Laser head | Full kit
– Bracket for the new laser head | Downloadable 3D-printed file
– Hose for the air assist | External link: Aliexpress
– Pump for the air assist | External link: Aliexpress
Preparations
To make it easier to install the new laser head, start with a rough alignment of your laser machine.
Move your machine to bottom left position and make sure your beam hits middle-ish on the laser head. If your machine is aligned already you can skip this step.
Installing the new laser head
Start with removing your stock laser head plate, unscrew the three screws holding the bracket and remove it completely.
Install the laser head in the bracket and place the bracket on the gantry pins, fasten the screws.

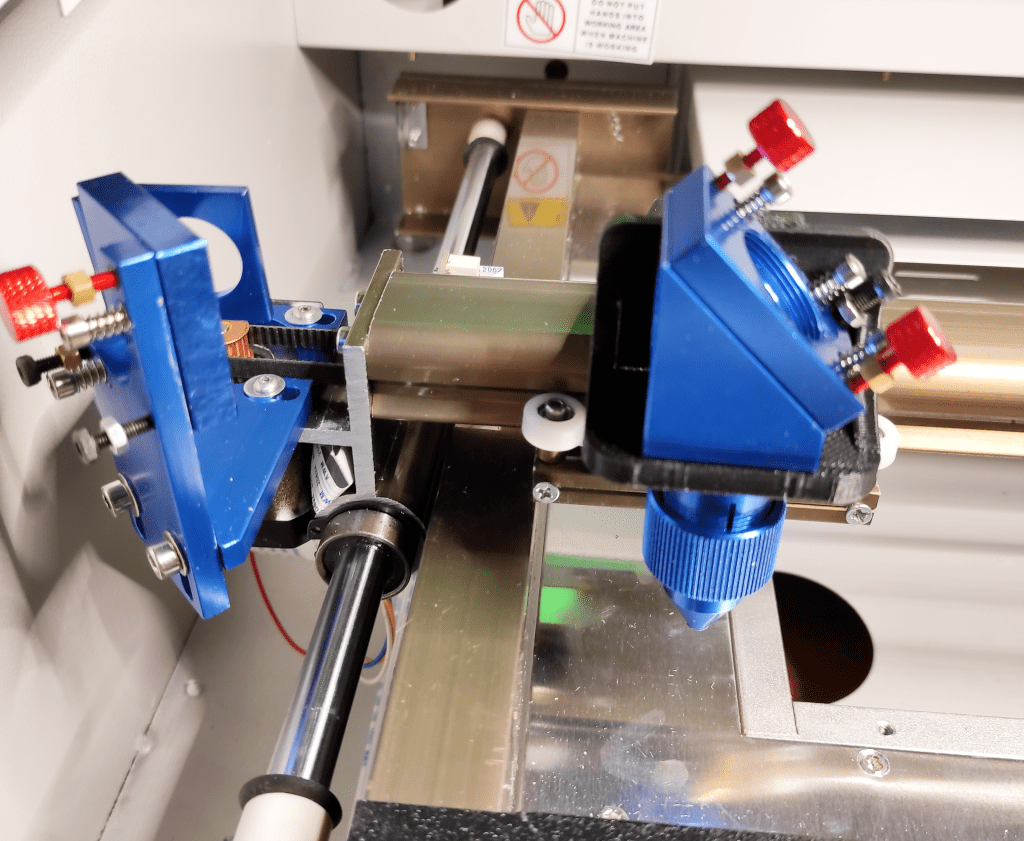
In our example, we are also removing the 2nd mirror holder, this one vibrates and jiggles when the machine is moving quick so we are changing it to the better version.
Here is the 2nd mirror holder installed and aligned
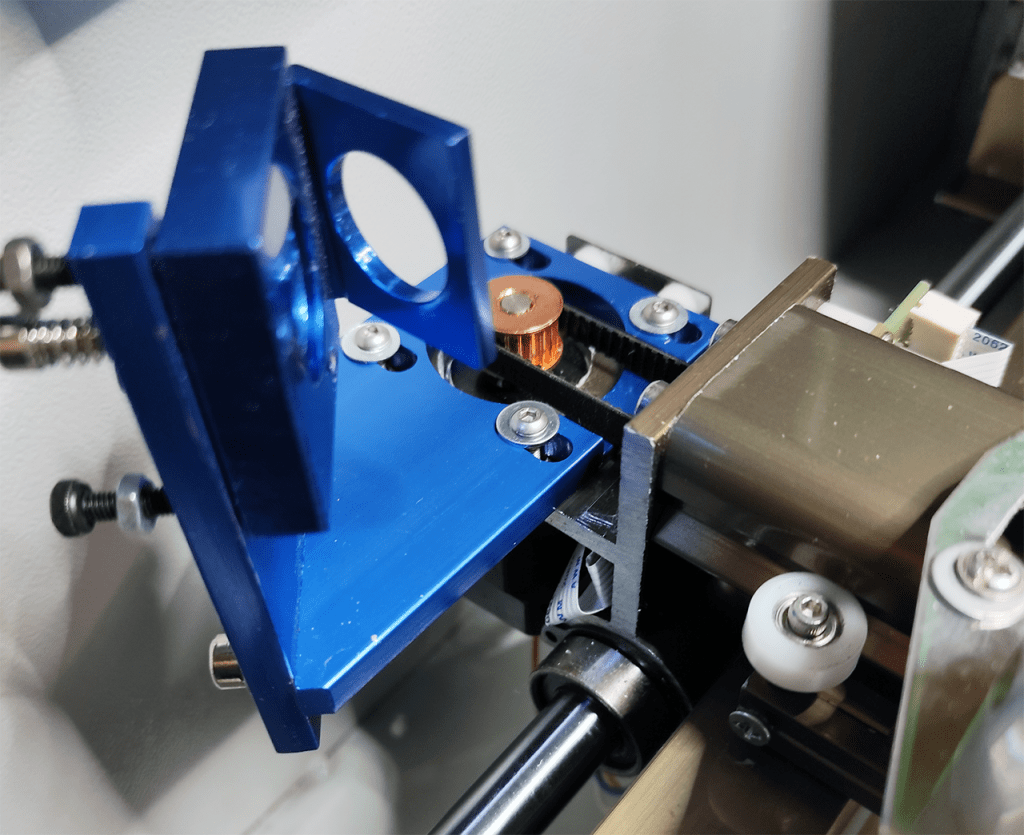
If you are changing this one too – turn the motor and lift the belt at the same time to lift it off the pulley. Remove the four screws and install your new mirror holder.
Turn the motor pulley and force the belt back on the pulley – make sure the belt hasn´t twisted in the gantry while changing the holder.

Rough alignment of your new laser head
If you only installed the laser head – go to step 2
If you installed both mirror holder and laser head – follow each step below.
Step 1 – align 2nd mirror holder
Put a coin over the mirror with some tape. Do a test fire.
Adjust this holder until you hit roughly center of the mirror.
Step 2 – align your laser head
Put some tape over the hold of the laser head mirror.
Move the laser head to bottom (closest to you) and furthest to the RIGHT position.
Do a test fire and check the location of the mark.
Adjust 2nd mirror until you hit roughly center.
Now you move the laser head to bottom (close to you) LEFT position and do a test fire.
The results
– If the dot is to the left of center – your laser head needs to get closer to the gantry (away from you)
– If the dot is to the right of center – your laser head needs to get away from the gantry (towards you)
– If the dot is above center – your laser head is too low
– If the dot is below center – your laser head is too high.
Adjust if you do not hit center, after adjustment you HAVE TO move the laser head to bottom RIGHT and re-center the dot again before you test-fire again in bottom LEFT position.
If you still have issues – repeat the steps above until you hit center in bot left and right positions.
It´s very important you reset by moving the laser head to bottom right after any changes and adjust mirror 2 until you hit center in this postition.
Here is a illustration of the positions

After aligning your new laser head and maybe the mirror holder, you are now done and ready to make your K40 do some work.
Check out our other upgrade articles in this series – you find the index-page here.